
When my dad and I picked up a load of furniture from the abandoned house, we grabbed two matching nightstands (not pictured below!)

I didn’t really have a specific plan for the nightstands, but you know…a wonderfully freeing thing about starting over with very few possessions is that you can take on a, “Sure, I’ll take it! This is better than nothing.” approach to stuff.
And that opens up a lot of possibilities.
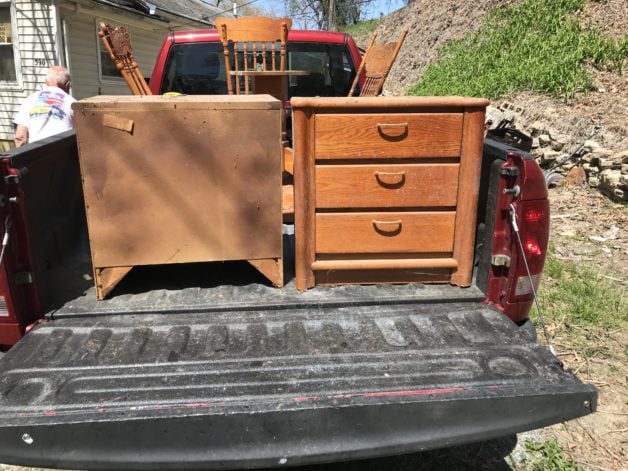
As with everything from this house, they were dusty, dirty, and reeked of cigarette smoke (with a hint of musty mildew).
I tackled one of these last year, to serve as a nightstand in Lisey’s room.
I did this one while I was still living with my parents, actually. I sanded it down in my dad’s garage.

My best look, obviously
Even though I sanded it down thoroughly, it still smelled pretty funky.
This was the time when I bought the Benjamin Moore First Light color, expecting it to look like this.
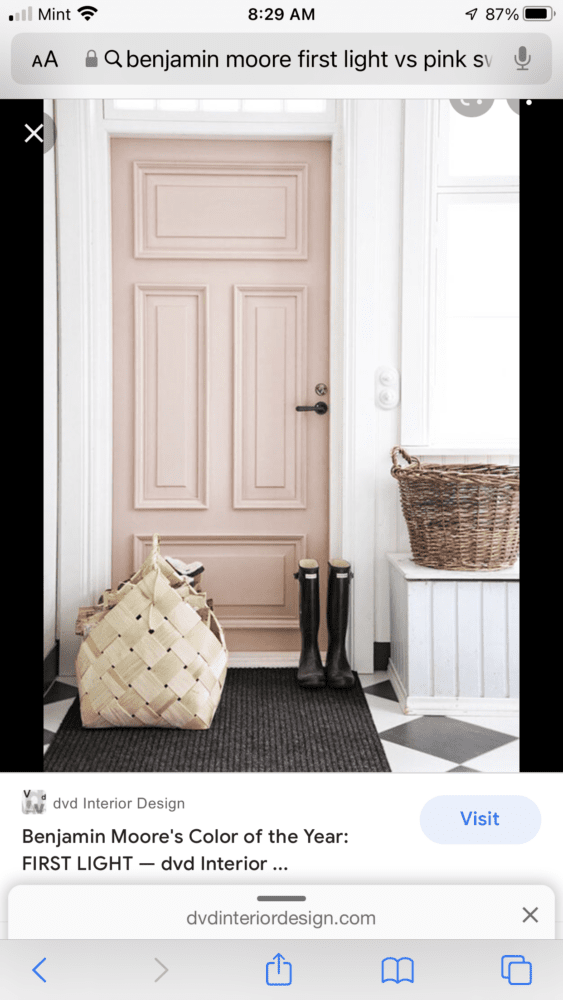
But in real life, it turned out to be a much lighter pink. You’ve seen this color on my Philco table and also on the Ikea Jules chair I just rehabbed.
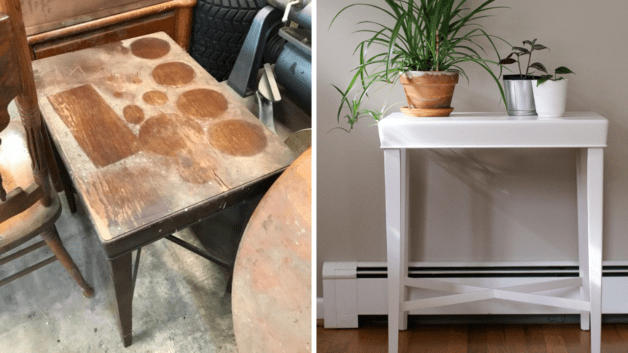
Anyway, after priming the nightstand, I applied the pink paint which, yes, looks very white.
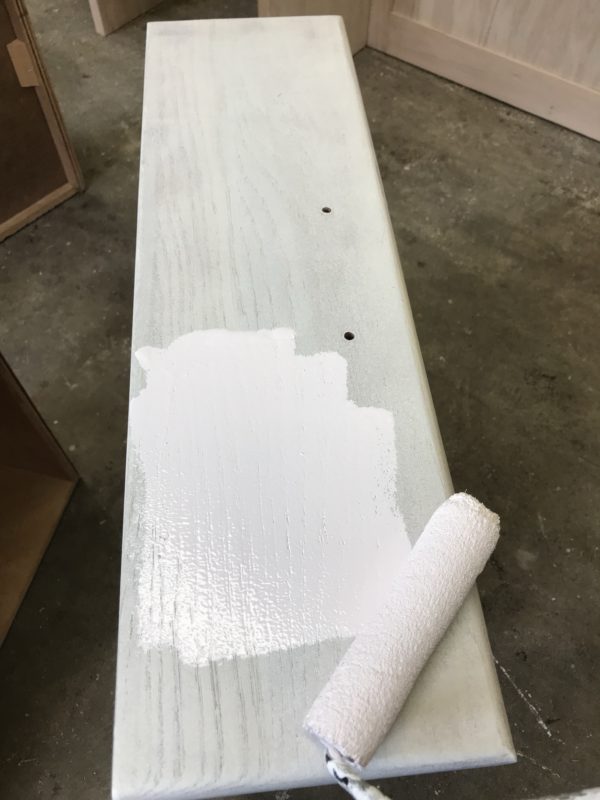
When I paint furniture in a light color, I often have to use caulk to fill in some gaps; the light color makes them rather unsightly.
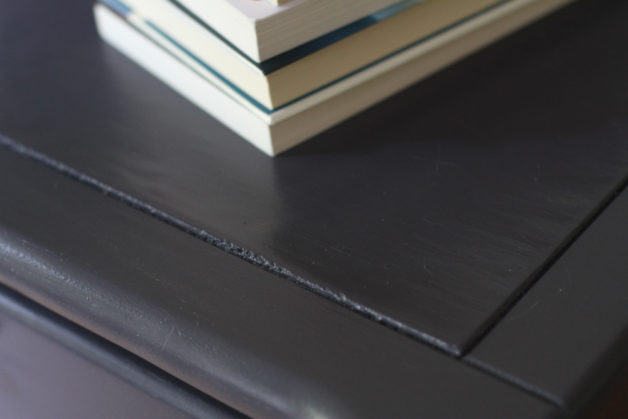
In the below picture, you can see the side gap is caulked, but obviously, the gap underneath the top also needs some caulk.
I always paint over the caulk once it’s dried; even if the caulk perfectly matches the color of the paint (unlikely!) it will not look right unless it’s been painted over because the sheen is different.
Also, in my experience, caulk yellows as it ages, so it becomes unsightly if not painted to match.
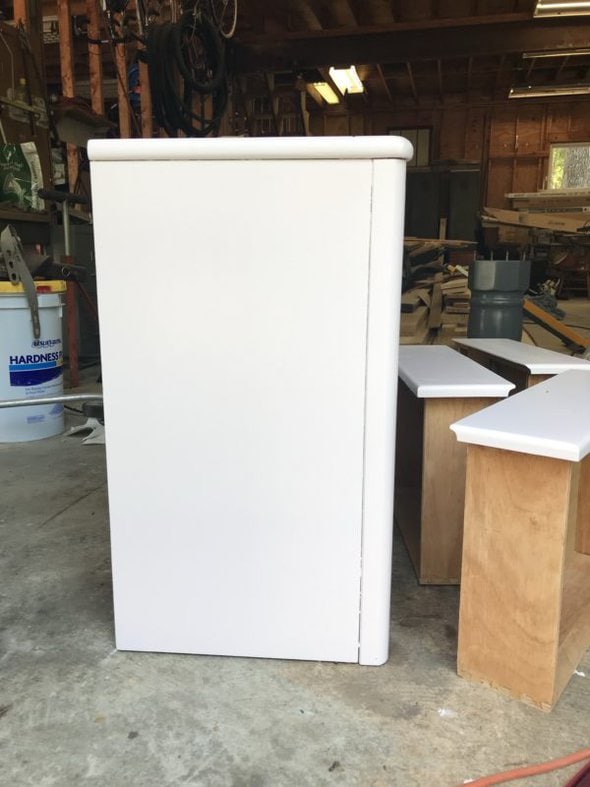
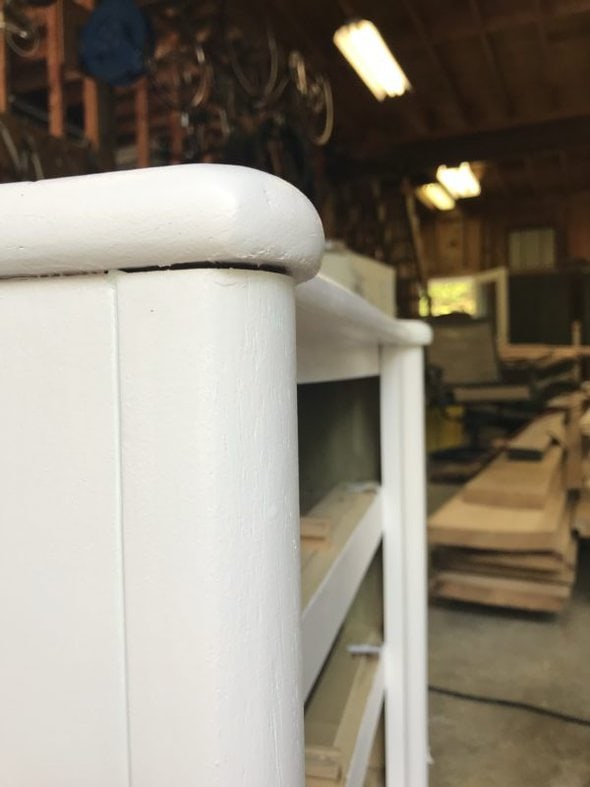
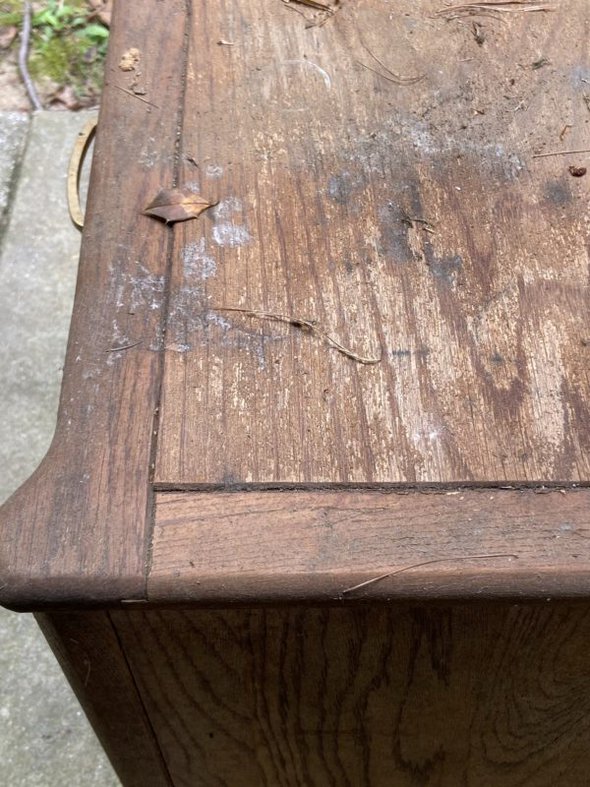
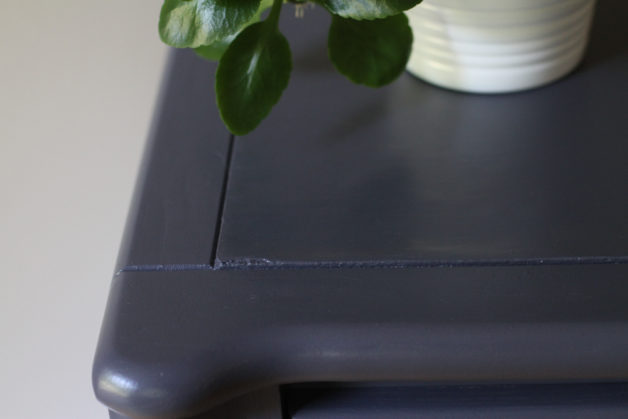
The top of this nightstand was damaged to begin with, so it does not look perfect. However, it’s better than it was, and I’m happy with that.

The top is a real wood veneer, but underneath is particle board. So, the previous water damage had caused some bubbling that could not be fixed with sanding.
This is where a, “good enough is good enough” attitude comes in handy.
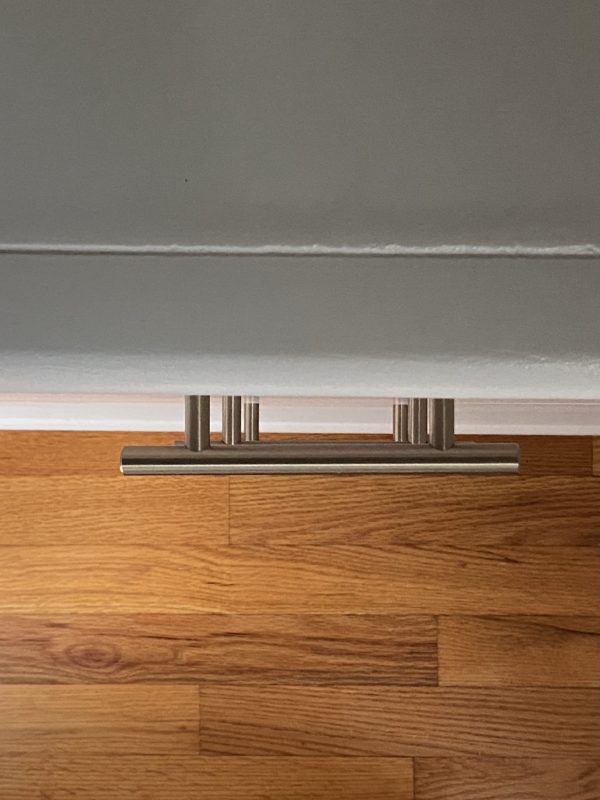
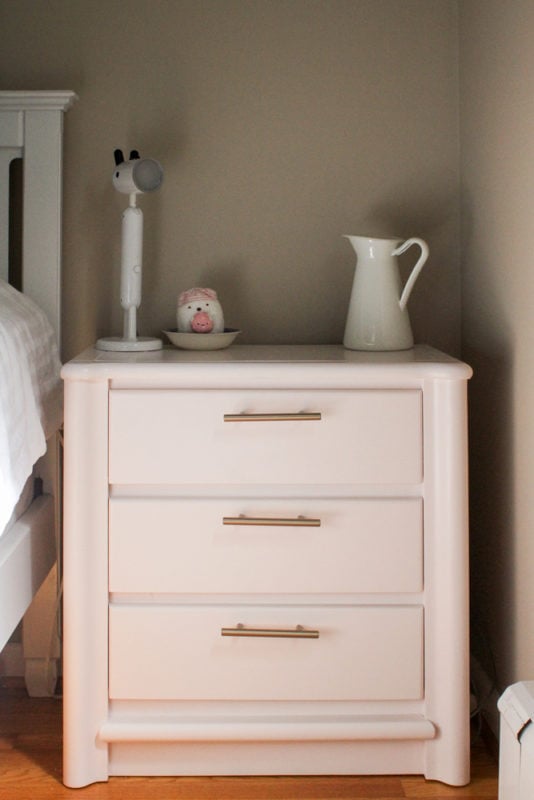
Anyway! I bought some gold handles from Home Depot to replace the original handles.
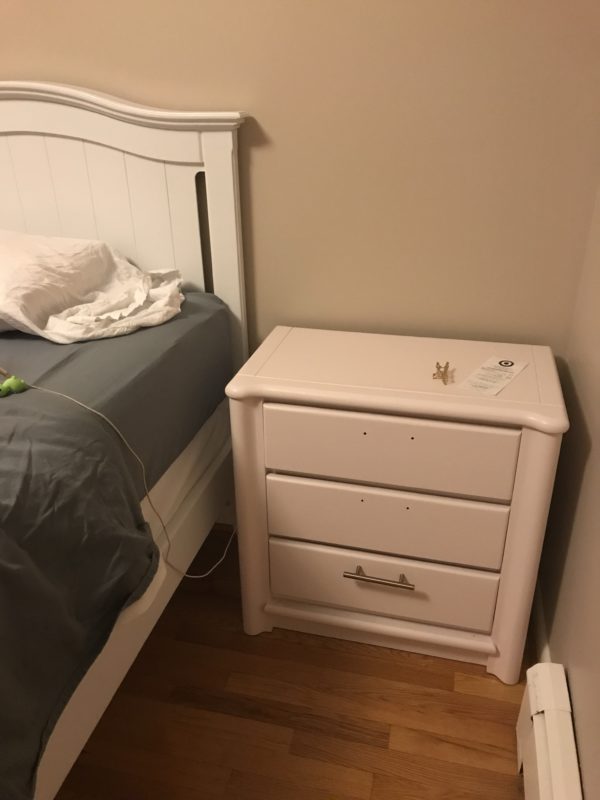
And this served as Lisey’s nightstand for the year that she lived here.
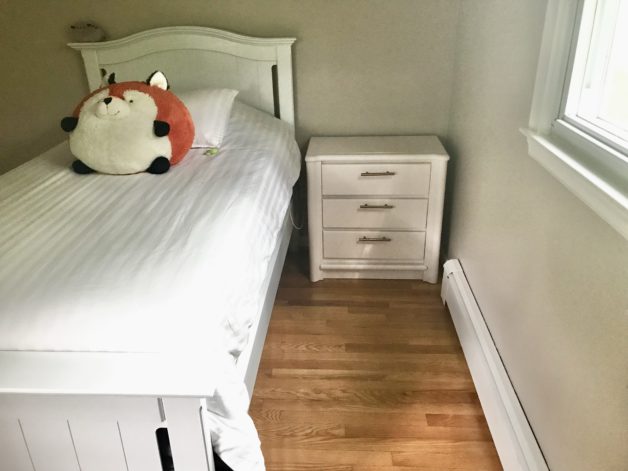
I’m happy to say that a year+ later, this nightstand smells fine. No one would ever know it’s from the abandoned house.
Except for the fact that I am currently telling the whole internet. 😉
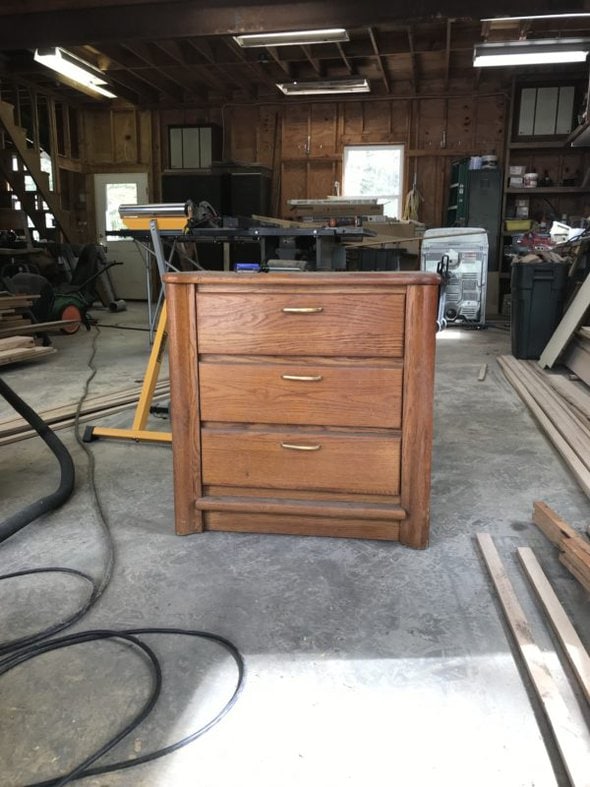
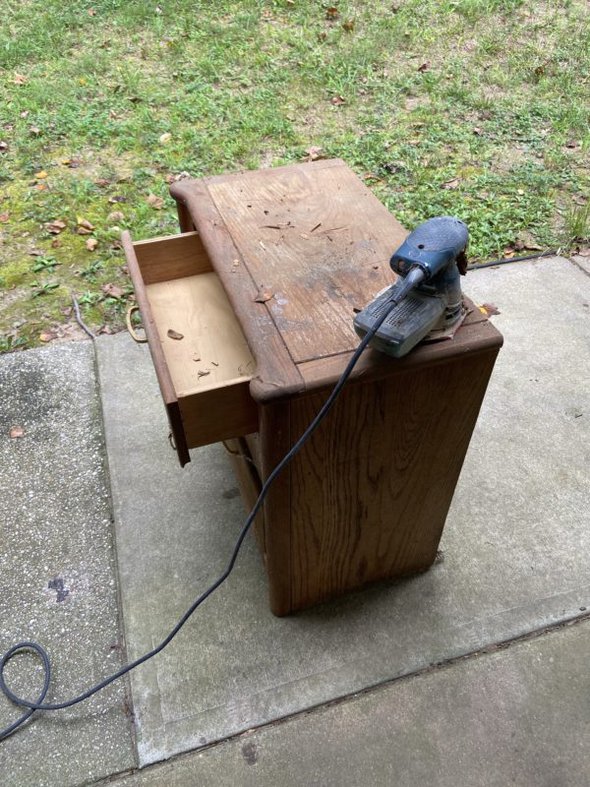
The other nightstand sat in my carport for almost a whole year before I finally decided to redo it. I didn’t have a pressing need for it, so I really could not find the motivation to do something with it.
Unsurprisingly, a year in the semi-outdoors had not improved the nightstand much.

BUT.
I will say that a year of airing out improved the smell immensely! The cigarette odor was pretty much gone.
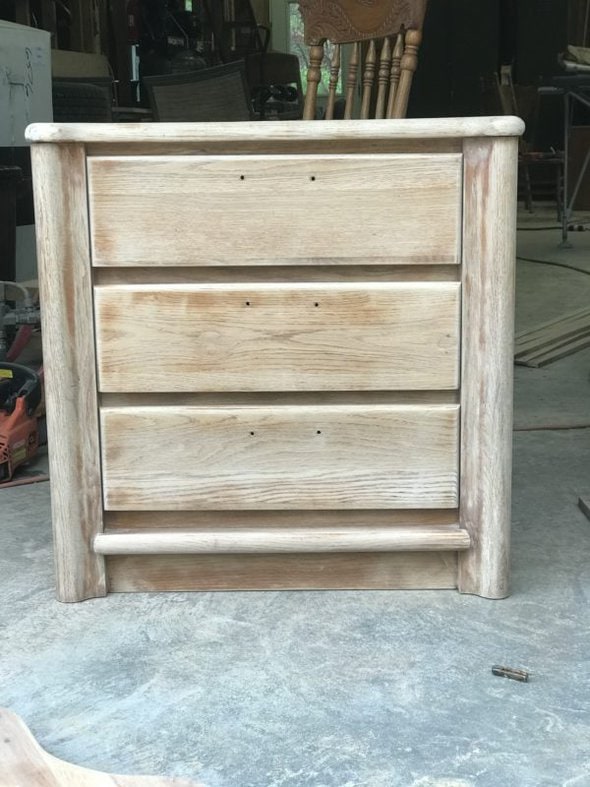
The first order of business was sanding, of course. I used my trusty Bosch orbital sander. (at the time of this writing, it’s 25% off at Amazon!)
It looked a whole lot cleaner after the sanding.
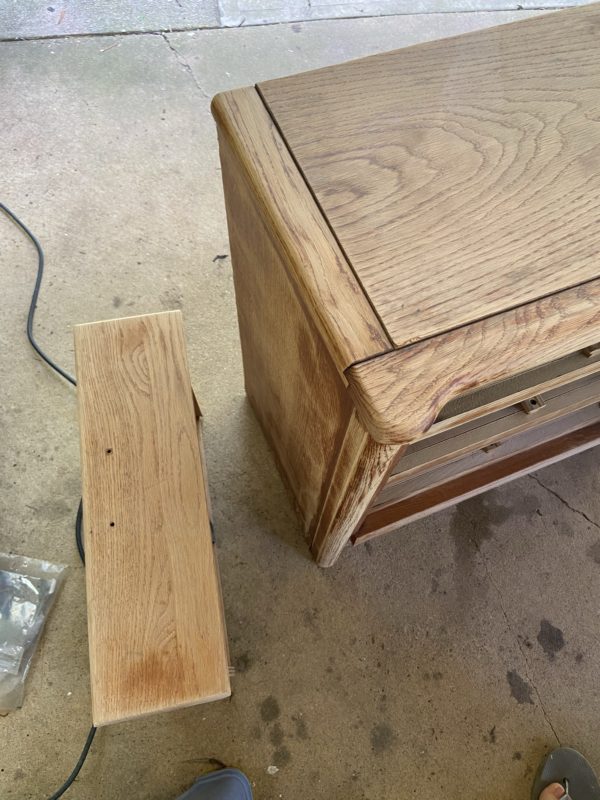
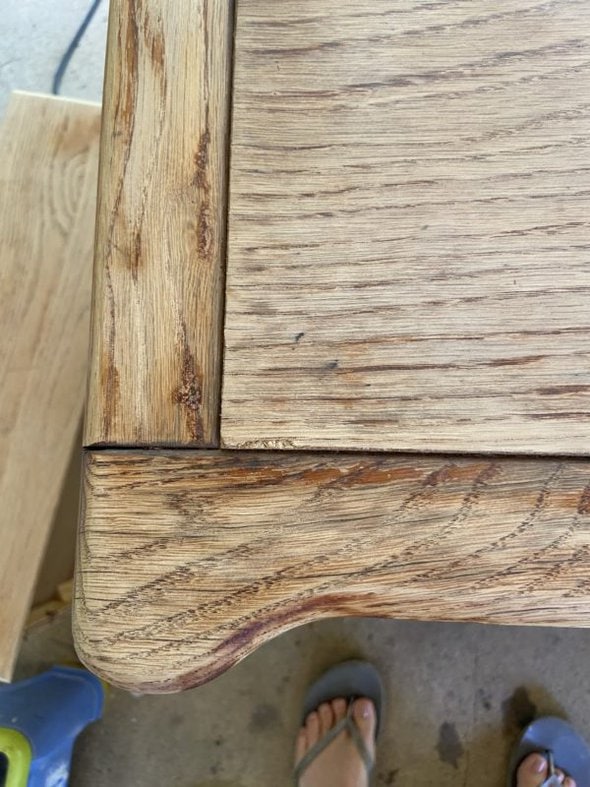
As with the other one, though, there’s definitely some veneer damage on the top.
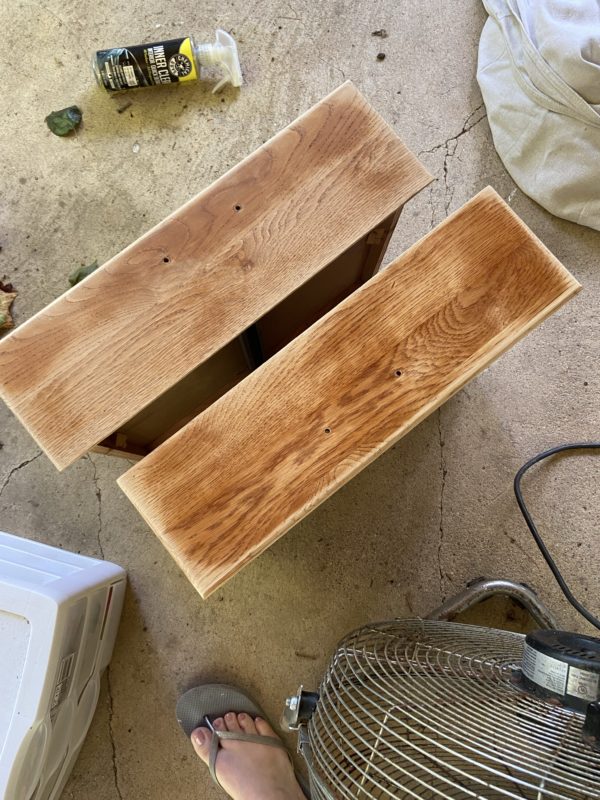
The drawers were in much better shape than the top. Incidentally, I love how easy it is to sand drawer fronts. There are no pesky interior corners where my sander won’t fit!
You know the next step: priming.

I brought the nightstand inside for painting because it was tooooo humid outside.
(Both for the furniture and for me. Ha.)
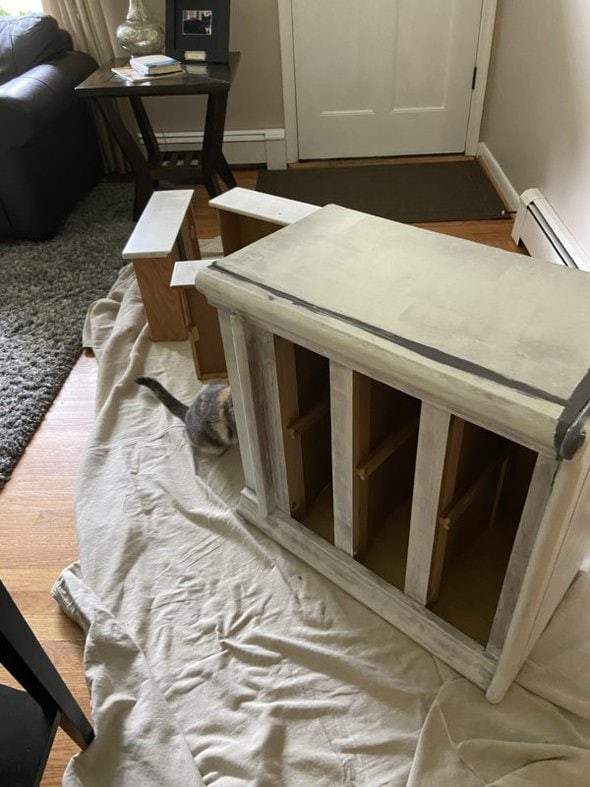
Did Chiquita make this a challenge? Yes, yes she did.
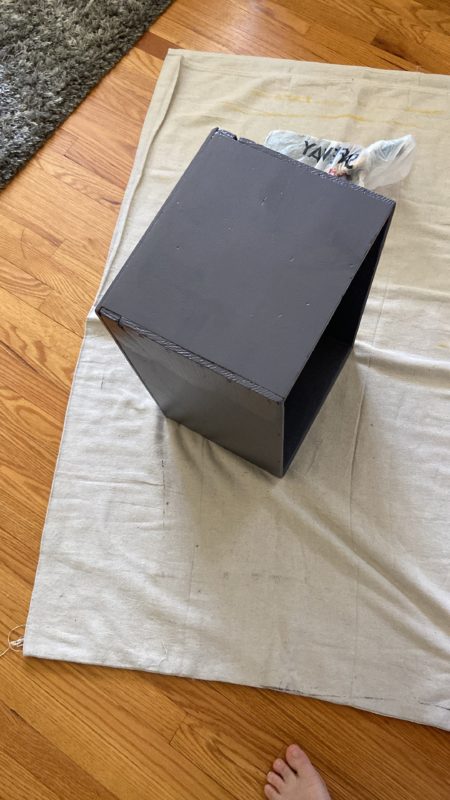
I decided to use some of the paint that I used for both the abandoned house crate:
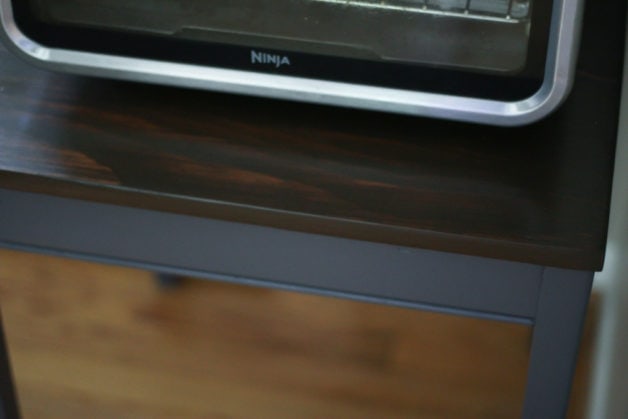
and the base of my Buy Nothing toaster oven table.
The cat litter in the below picture is quite irrelevant; we just happened to get an order from Chewy on that day.
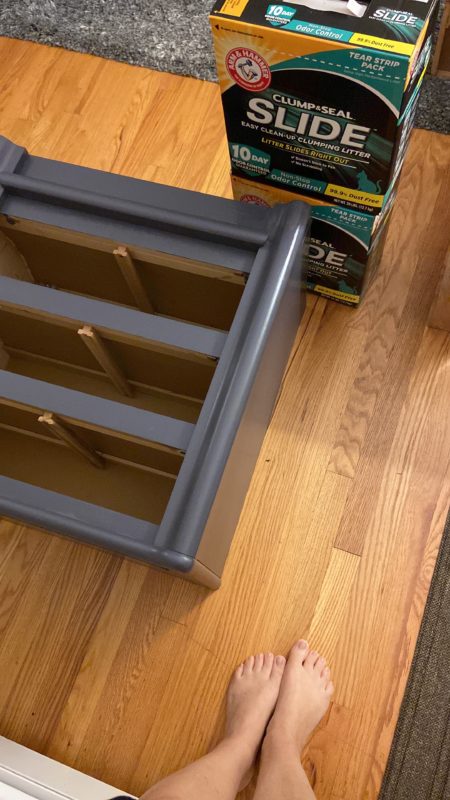
And here’s what it looks like now. Except ugh, whenever I take pictures of this paint color, I never feel like I get it quite right. It is less blue than it appears in this photo!

Since my primary objective with this rehab was to keep costs down, I opted to use the original hardware.
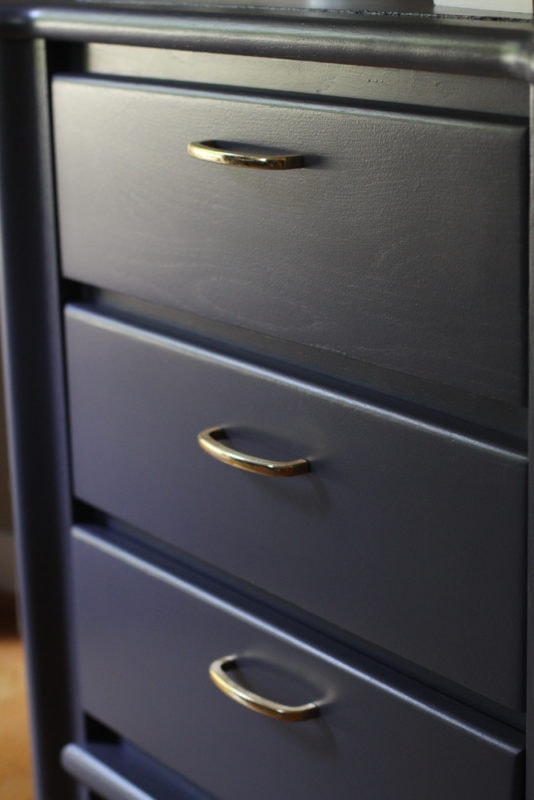
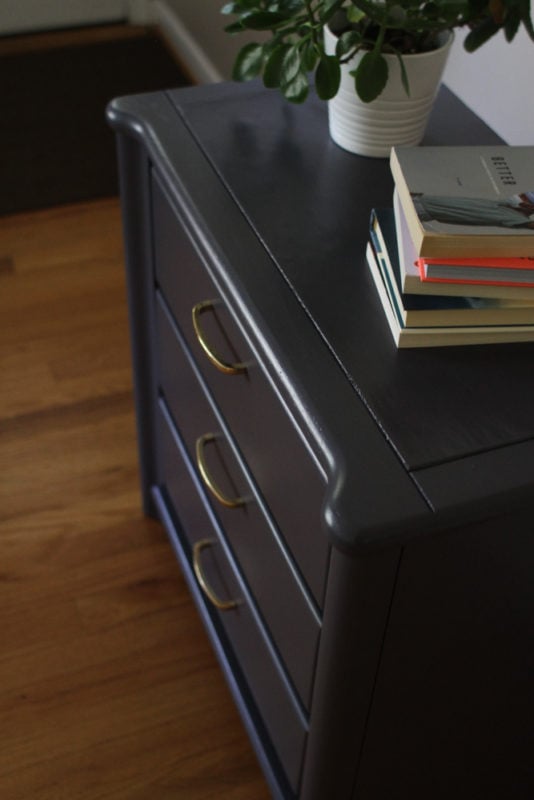
I’d say this picture is fairly accurate in terms of how the color looks in real life, by the way.
As with the pink version, you can definitely see some damage on the top after painting.
But as with the pink one…this is way better than before! So I am content.
Since I don’t need a nightstand anywhere, my plan is to put this in my office closet to get my printer off the floor. So the condition of the top is actually pretty irrelevant.
So!
Before:
And after:
I realize the handles are a little off-kilter. I need to adjust them…but I did not feel like redoing the picture. Apologies to those of you who will be very bothered by this. 😉
Whew. That was a lot of photos to upload. Gold stars for you if you made it all the way through!
_________________
P.S. If you’ve been here for other furniture posts, you already know this but…here’s a quick list of the supplies I always use.
- Bosch Orbital sander
- Zinnser 1-2-3 primer
- Benjamin Moore Advance paint in satin sheen (the pink is First Light and the blue is Ebony Slate)
- Dap Latex caulk
To apply the primer and paint, I use a little 4-inch roller with a relatively low nap, plus a very small paintbrush (a little bigger than a watercolor brush. So handy for tiny little corners and grooves.)
Jen from Ottawa
Thursday 7th of September 2023
Very nice makeovers! They both look great and I have to say that the original hardware looks terrific with it in dark grey - I find that it suits the curves of the piece(s).
Jen in Santa Cruz
Wednesday 6th of September 2023
I love Before and After photos of painted furniture. Amazing what some elbow grease and paint can do! Nice work, and thanks for taking the time to share.
Rachel
Wednesday 6th of September 2023
Thank you for the comment that you knew the handles were crooked! It WAS bothering me, haha.
Ruth
Wednesday 6th of September 2023
Did you do anything special to get rid of the smell? Or just time and airing? The nightstands look amazing!
Madeline
Wednesday 6th of September 2023
I just love what you did with BOTH night stands. The hardware on the first one is gorgeous and the color on the second one is beautiful!! I like having “not so precious” furnishings so when I spill a drink or get some jelly from my toast all over something I am not too freaked out. I sort of hate to see that second stand go into a closet., it looks like “ready for prime time” in a living room or bedroom! but you know what your home needs,best.You are soo talented!!!