
When I posted my last painting project:

…some of you had questions/comments that I wanted to answer in a post so that all of you could see the answers. So, here you go.
I wish I was nearby & could be your apprentice for a few projects, and then learn to do them myself. I’m always inspired by your work!
It would be so much fun to have a furniture rehab class with all of you. If only there were 83 copies of me to travel around and do that. Ha.
But I also want to encourage all of you by saying that no one ever taught me how to paint furniture.
I painted some walls at my townhouse back in the early 200s, and then in 2005 at my next house, I did a lot of spackling, sanding, and painting of walls. But no furniture!
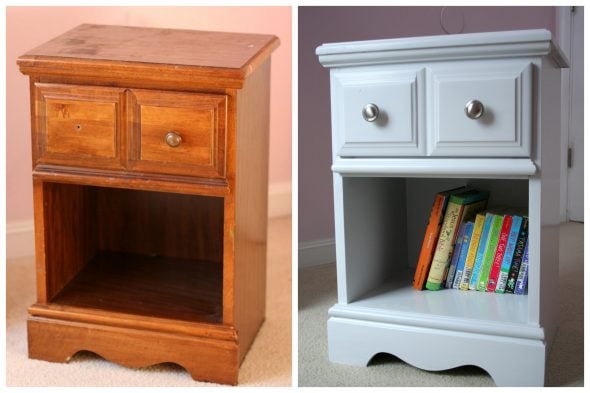
In 2007 or so, though, I got a nightstand from Freecycle, and I decided to try painting it.
I am sure that if I did it again now, I’d do a better job, but it turned out well enough to give me inspiration to do more painting.
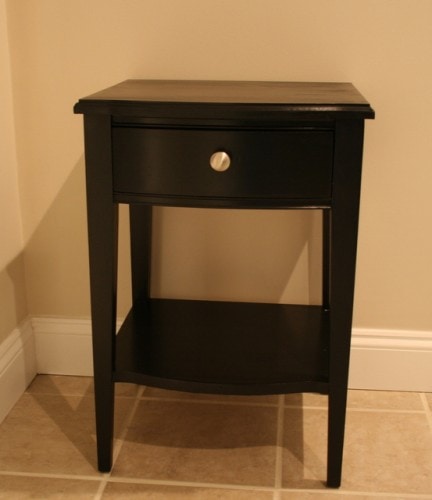
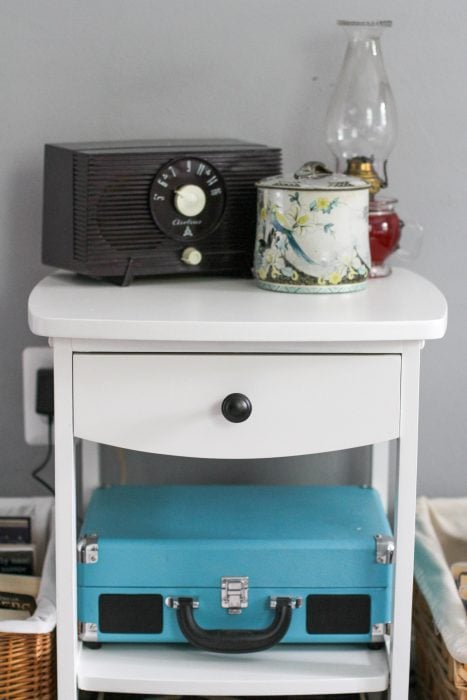
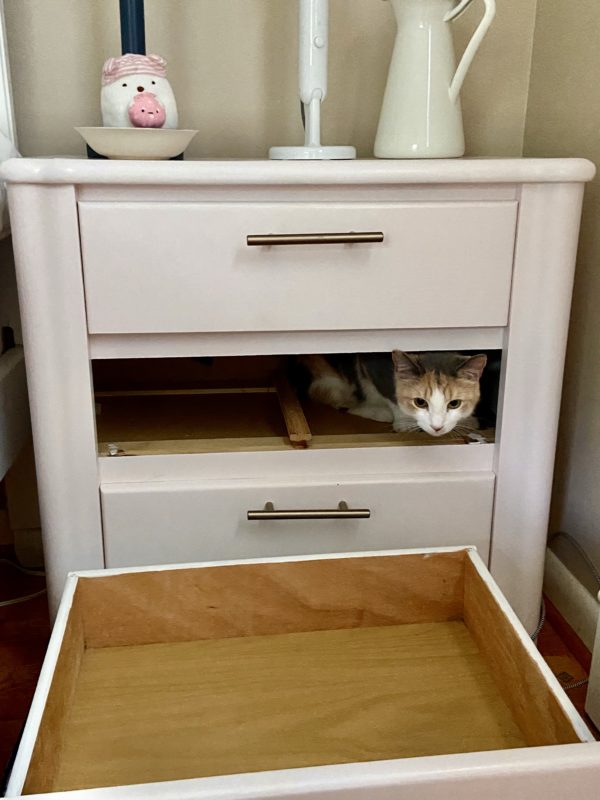
Zoe still uses this freecycle nightstand that I painted for her in 2008
And now I have eleventy zillion furniture painting projects under my belt.
I’m really glad I tried that first nightstand because since then, I’ve learned lots of stuff by trial and error, and now I know a lot about furniture painting.
A few things that make a good first project:
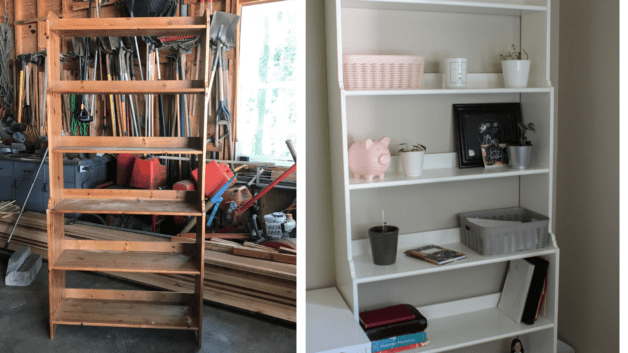
- do something with simple lines. Ornate pieces with lots of curves and detail make it harder to sand and paint.
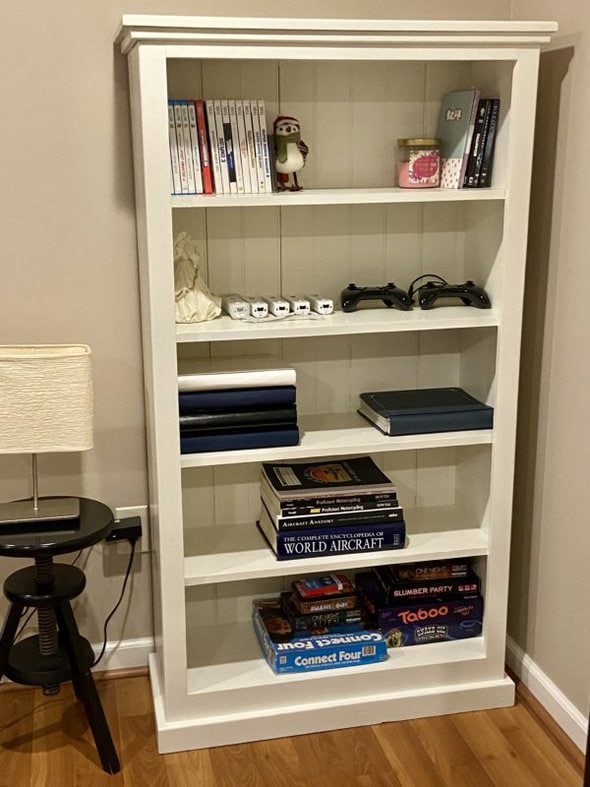
- do something small. It’s much less overwhelming to do a nightstand than a whole tall bookshelf (or your kitchen cabinets!)
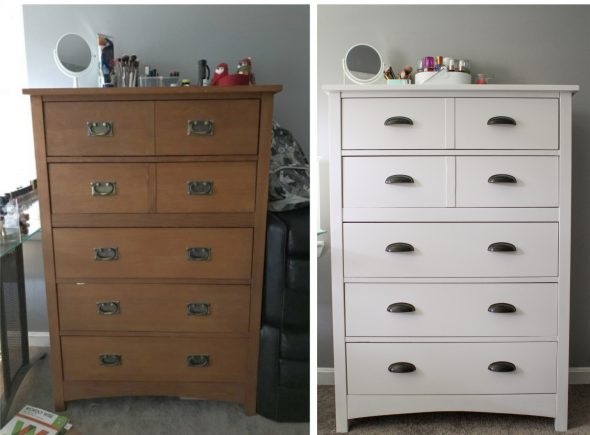
- pick something that doesn’t need a bunch of repairs. A simple paint job is a good start. As you get more comfy, you can tackle things like removing veneer, fixing broken pieces, changing hardware configuration, and so on.
I wish I had the courage to try this myself. I have had the same stool for more than 20 years now. It could really need a fresh coat of painting…..
Ok, I want to tell you something that helps me with courage: start with something that is so ugly/worn that you couldn’t possibly make it worse.
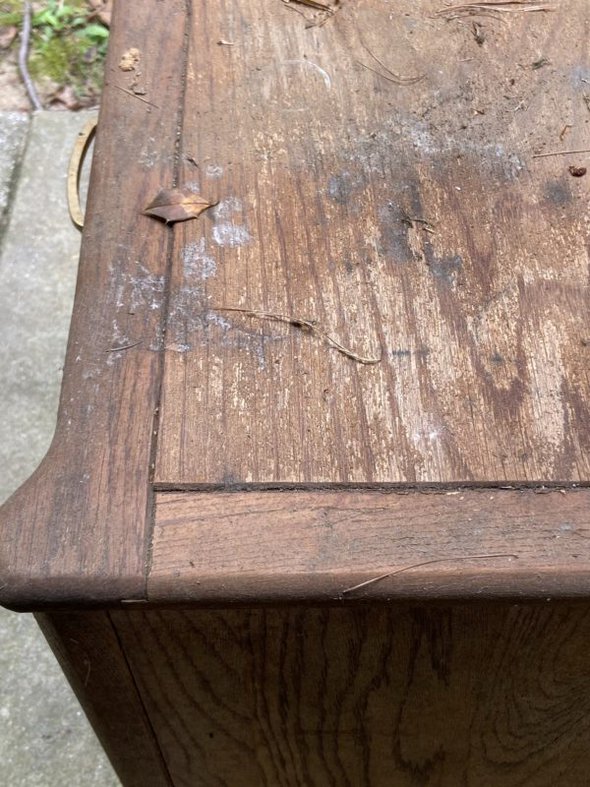
It’s even better if that thing is free.
free + in terrible shape = PERFECT
That way, it’s very low-stakes! The odds are so good that you will make the item better than it was before. And even if you don’t, it’s no big deal!

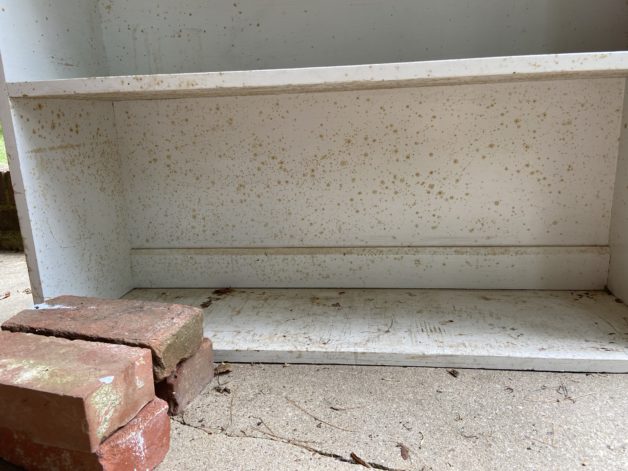
how that dirty nightstand looks now
I think your stool sounds like a perfect first project; it’s small, you already own it, and it’s super worn. I encourage you to give it a try. 🙂 You might be delighted with the results.
Also, something to remember is that paint is not permanent. If you tackle a project and decide you don’t love it, you can always sand it smooth and start fresh. It’s ok. 🙂
I was just wondering what steps you take for cleanup of the brushes? It is such a silly question, but somehow, after painting, I always seem to stumble on the cleanup. Do you have any pro tips?
Sure, I can tell you what works for me.
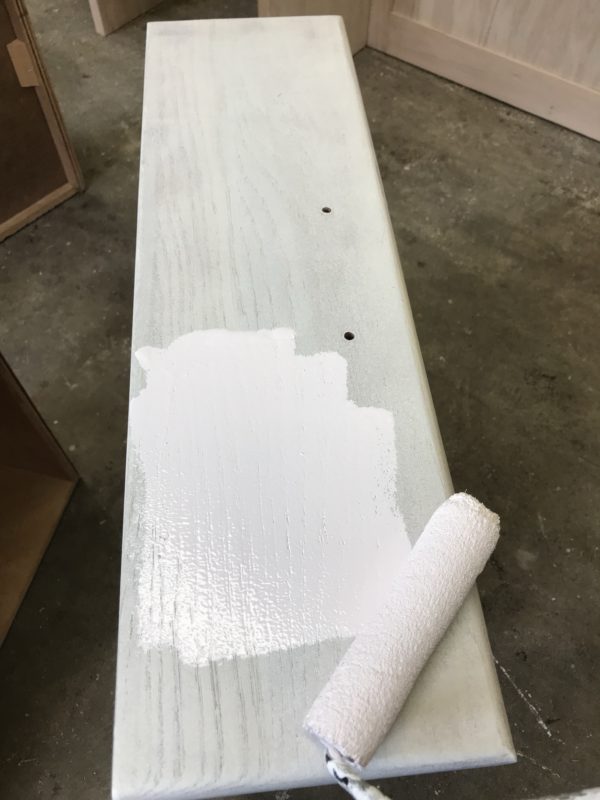
I always do multiple thin coats of paint (that makes for a long-lasting, smooth finish), so in between coats, I cover the brushes/tray/roller with plastic to keep them from drying out.
I have some plastic cases for larger brushes and rollers (the type you use to paint walls), and I do like those.
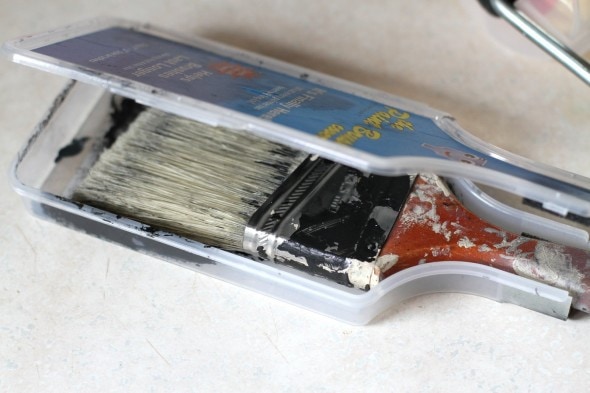
But for the small materials I use for furniture, I often just put the whole mess inside of a plastic grocery bag and make it sort of air-tight. This would not be sufficient for a long storage time, but for a couple of hours, it’s fine.
When I get near the end of the project, I try to get the last bit of paint brushed/rolled on so that there’s not a bunch left on the brushes and rollers.
After that, I usually soak the roller and brushes in water overnight and then I rinse them. The soak helps to loosen up the paint and it makes the rinsing way easier.
Then I squeeze/pat the brushes/rollers dry and let them air dry before storing them for the next use.
As long as your paint and primer are water-based, you do not need paint thinners and mineral spirits. Water works just fine and is way way less stinky.
I hate using mineral spirits. Blech.
Do you have any other painting questions/comments? Let me know!
P.S. At the bottom of this other post, there’s a list of all the supplies I use when I paint furniture.
P.P.S. Just to be clear, it’s totally ok if you don’t want to paint furniture. But if you DO have an itch to try, I’m cheering you on. 😉
Tammy
Wednesday 14th of February 2024
I have an espresso coloured bookcase that I have been wanting to paint off white for some time but without a paint sprayer the thought is just so daunting. Maybe I'll give it a go.
JEG
Tuesday 13th of February 2024
I always miss the best things on the buy nothing page and anything else on the page I don't need. Someone put up matching narrow hutches a week or so ago. Of course, someone had snatched it up. I dreamed of them painted by following your painting methods and how they would have looked in my little space. Oh well, I can have dreams and I hope they were for someone, who finally has a shelter but not the money to furnish it. I'll just have to paint my bookcases when the weather gets better.
Rose
Tuesday 13th of February 2024
My dresser is vernacular Yorkshire furniture.
Rose
Tuesday 13th of February 2024
@JEG, Originally, what we Americans called "hutches" and British call "dressers" were usually painted. I have a c. 1780 pine dresser (which comes from the French word meaning "to dress meat") that is pine. Pine was considered a low quality wood so it was always painted. Someone stripped mine at some point, but I couldn't bear to paint it because I love the beat up quality of something that's been used in kitchens for 250 years.
Jadie
Tuesday 13th of February 2024
I recently saw a tiktok featuring this reusable liner and lid to help in storing between coats and for clean up you can let the paint dry and peel it out!
https://repaintstudios.com/products/repaint-tray
Barbara Smith
Tuesday 13th of February 2024
Wonderful encouragement, friend!
Maddie
Tuesday 13th of February 2024
Thank you for this post! My bathroom is small and because of some big plumbing issues, I’m doing a remodel. I’m now inspired to find a small used storage cabinet or something similar and refurbish it mysef to help keep costs down. Hoping I can find something I’ll be happy with.
Liz B.
Tuesday 13th of February 2024
@Rose, Ooh, great idea! I still see some of those TV armoire for free on Marketplace or NextDoor.
Rose
Tuesday 13th of February 2024
@Maddie, See if people are still getting rid of those giant TV armoires. Easy to turn into good storage.